
Night photography and light painting have become increasingly popular among photographers seeking to capture stunning and ethereal images. The creation of light trails, in particular, has emerged as a captivating technique that adds an element of dynamism and intrigue to photographs taken during the dark hours. Imagine a bustling cityscape with streaks of vibrant colors cutting through the darkness, or a serene landscape illuminated by swirling patterns of light dancing across the frame. This article aims to delve into the art of creating light trails, providing insights into the technical aspects involved and offering guidance on how to master this unique skill.
To fully appreciate the intricacies of creating light trails, it is essential to understand both the equipment required and the techniques employed. Firstly, a camera capable of long exposure settings is crucial for capturing these mesmerizing effects. Additionally, a sturdy tripod should be utilized to ensure stability throughout prolonged exposures. By setting up their gear near a busy roadway at nightfall, photographers can experiment with different shutter speeds and aperture settings to achieve desired results. For instance, using a slow shutter speed combined with narrow aperture allows more time for lights from passing vehicles to create intricate trails across the image while maintaining sharpness in other elements.
Moreover, mastering light painting techniques is instrumental in crafting compelling compositions involving light trails. Light painting involves using various light sources, such as flashlights or LED lights, to selectively illuminate specific areas of the frame during a long exposure. This technique can be used to create stunning effects, such as highlighting certain objects or adding additional elements to the composition.
To get started with light painting, begin by setting up your camera on a tripod and adjusting the settings for a longer exposure time. It is recommended to start with an exposure time of around 30 seconds and adjust accordingly based on the desired effect. Next, choose your light source and experiment with different movements and patterns while shining the light towards the scene you want to paint. Remember to keep moving throughout the exposure to avoid having your own presence captured in the image.
In addition to traditional light painting techniques, there are also advanced methods that can be used for more intricate and complex light trails. One popular method is using multiple exposures combined in post-processing software like Adobe Photoshop. This allows you to capture different elements separately and then combine them into a single image, creating unique and mesmerizing compositions.
Lastly, it’s important to have patience and practice when it comes to capturing captivating light trails. Experiment with different locations, subjects, and lighting conditions to find what works best for you. Don’t be afraid to try new ideas and techniques – sometimes the most unexpected results can lead to stunning images.
Creating captivating light trails requires a combination of technical knowledge, creativity, and experimentation. By understanding how different camera settings affect long exposures and practicing various light painting techniques, photographers can master this unique skill and capture breathtaking images that stand out from the crowd. So grab your gear, head out into the night, and let your imagination run wild as you embark on an exciting journey into the world of light trail photography!
Understanding the Basics of Long Exposure
Long exposure photography is a technique where the camera’s shutter remains open for an extended period, capturing light over time. It allows photographers to create stunning visual effects like light trails and ethereal nightscapes. To master this art form, it is crucial to comprehend the basics of long exposure.
One example that illustrates the power of long exposure photography is capturing light trails from moving vehicles at night. By using a slow shutter speed, such as 10 seconds or more, the camera can capture the continuous movement of car lights, resulting in mesmerizing streaks across the frame. This technique not only adds dynamism to photographs but also reveals patterns and paths that are otherwise invisible to the naked eye.
To achieve successful long exposures, there are several factors to consider:
- Stability: A sturdy tripod is essential for eliminating any unwanted camera shake during long exposures.
- Shutter Speed: Experimenting with different shutter speeds will determine how much motion blur you want in your image.
- Aperture: Selecting a small aperture (high f-number) helps maximize depth of field and keeps both foreground and background elements sharp.
- ISO Sensitivity: Keeping ISO low minimizes digital noise, ensuring clean images.
| Factors | Importance | Impact on Image Quality |
|---|---|---|
| Stability | Essential | Eliminates camera shake |
| Shutter Speed | Crucial | Determines motion blur |
| Aperture | Significant | Controls depth of field |
| ISO Sensitivity | Important | Minimizes digital noise |
By understanding these basic principles and experimenting with various settings, you can begin creating captivating long exposure photographs. The next step towards mastering this art form involves choosing the right camera and lens combination, which will be discussed in detail in the subsequent section.
With a solid grasp of long exposure fundamentals, you are ready to explore the realm of light painting and capturing breathtaking nightscapes. Transitioning seamlessly into the next section, we will now delve into the process of choosing the right camera and lens for long exposure photography.
Choosing the Right Camera and Lens
Armed with a solid understanding of long exposure techniques, we can now delve into the importance of selecting the right camera and lens for capturing stunning light trails in night photography.
When it comes to choosing the perfect camera and lens combination, one must consider various factors that contribute to achieving desired results. For instance, let’s imagine a scenario where an aspiring photographer aims to capture vibrant light trails created by passing cars on a busy city street. To achieve this, they would need a camera that offers manual controls for adjusting shutter speed and aperture settings, allowing them to experiment with longer exposures. Additionally, a wide-angle lens with a low f-stop (e.g., f/2.8) could help capture more detail within the frame while letting in enough light for optimal exposure.
To further aid you in making informed decisions, here are some key considerations when choosing your equipment:
- Sensor size: A larger sensor tends to produce less noise at higher ISOs, enabling cleaner images even under challenging lighting conditions.
- ISO range: Look for cameras with good high ISO performance as it allows flexibility in varying ambient light situations.
- Lens compatibility: Ensure that your chosen camera is compatible with a wide range of lenses to expand your creative possibilities.
- Image stabilization: Consider investing in either an image-stabilized lens or a camera body with built-in image stabilization to minimize blur caused by shaky hands during long exposures.
Table: Key Considerations When Choosing Your Camera and Lens
| Consideration | Description |
|---|---|
| Sensor size | Larger sensors offer better low-light performance |
| ISO range | Higher ISO capabilities allow shooting in dimly lit environments |
| Lens compatibility | Compatibility with multiple lenses enhances versatility |
| Image stabilization | Reduces blurriness caused by hand movements during long exposures |
In conclusion, selecting the right camera and lens combination is crucial for achieving exceptional light trails in night photography. By considering factors such as sensor size, ISO range, lens compatibility, and image stabilization, you can enhance your creative potential and capture mesmerizing light paintings.
Now that we have covered the importance of choosing the right camera and lens combination, let’s move on to setting up your camera for optimal results in night photography.
Setting Up Your Camera for Night Photography
Section H2: Setting Up Your Camera for Night Photography
Transitioning from the previous section on choosing the right camera and lens, let’s now delve into how to set up your camera for night photography. To illustrate this process, we will consider a hypothetical scenario where you are capturing light trails created by passing cars on a busy city street.
Before diving into the technical aspects, it is important to note that setting up your camera for night photography requires careful attention to detail. Here are three key considerations:
-
Exposure Settings: Achieving the perfect exposure in low light situations can be challenging but crucial for capturing stunning night images. Start by selecting manual mode on your camera and adjusting the ISO sensitivity, typically ranging from 800-3200 depending on the available ambient light. Experiment with different shutter speeds to control the amount of light entering the sensor, keeping in mind that longer exposures result in more pronounced light trails.
-
Focus Techniques: Achieving sharp focus at night can be tricky due to limited lighting conditions. One effective technique is using manual focus; identify a distant point of reference such as a building or landmark lit by artificial lights and adjust your focus accordingly. Additionally, utilizing live view mode and magnification can help ensure precise focusing.
-
Tripod Stability: Night photography often involves long exposures, making stability essential to avoid blurry images. Invest in a sturdy tripod capable of supporting your camera equipment securely. Mounting your camera properly eliminates any unwanted movement caused by handholding and allows for extended exposure times without compromising image quality.
Now let’s take a closer look at these considerations through an example case study involving photographing light trails created by passing cars:
| Scenario | Equipment Used |
|---|---|
| Location | Busy urban street |
| Camera | DSLR |
| Lens | Wide-angle |
In this case study, our photographer sets their camera to manual mode with an ISO of 1600 to capture the ambient street lighting. They experiment with different shutter speeds, eventually settling on a 10-second exposure to achieve vibrant and distinct light trails.
To ensure sharp focus, the photographer manually adjusts their lens by focusing on a distant illuminated building. By utilizing live view mode and magnification, they verify precise focus before capturing the shot.
Finally, to maintain stability during the long exposure, our photographer uses a sturdy tripod that securely holds their DSLR camera in place. This eliminates any potential camera shake or vibration caused by handholding and results in crisp and clear light trail images.
Transitioning into the subsequent section about mastering the technique of light trails, it is essential to understand how these settings lay the foundation for creating captivating night photographs.
Mastering the Technique of Light Trails
Section H2: Mastering the Technique of Light Trails
Imagine this scenario: you find yourself in a bustling cityscape at night, surrounded by vibrant lights and moving cars. You want to capture the energy and dynamism of the scene through photography. This is where mastering the technique of light trails becomes essential.
To create mesmerizing light trails that add an artistic touch to your night photography, consider following these key steps:
-
Choose the right location: Look for areas with heavy traffic or busy streets as they offer a higher chance of capturing captivating light trails. Bridges, intersections, and highways are excellent options.
-
Use long exposure settings on your camera: Adjust your shutter speed to a longer duration, typically ranging from 10 to 30 seconds, allowing enough time for the motion blur effect to occur. Additionally, set a low ISO (around 100-200) and a narrow aperture (between f/8 and f/16) to maintain sharpness throughout the image.
-
Steady your camera: To avoid any unwanted camera shake during long exposures, utilize a tripod or stabilize your camera on a solid surface like a wall or railing. An alternative option is using remote shutter release or self-timer mode.
-
Experiment with different techniques: Explore various creative strategies such as panning shots – tracking moving subjects while maintaining focus on them – or zoom bursts – adjusting focal length during exposure for dramatic effects.
By incorporating these techniques into your night photography adventures, you can transform ordinary scenes into extraordinary works of art. The table below highlights some additional tips and tricks that can elevate your light trail photography experience:
| Tips for Captivating Light Trail Photography |
|---|
| Experiment with different light sources |
| Utilize reflections |
| Consider the weather conditions |
| Timing is crucial |
In the upcoming section, we will delve into exploring different light sources for light trails. By understanding how different types of illumination contribute to the overall composition, you can further refine your night photography skills and expand your creative possibilities.
Exploring Different Light Sources for Light Trails
Light trails in night photography and light painting can be created using a variety of different light sources. By experimenting with these various sources, photographers can achieve unique and captivating effects in their images. Let’s explore some of the commonly used light sources for creating stunning light trails.
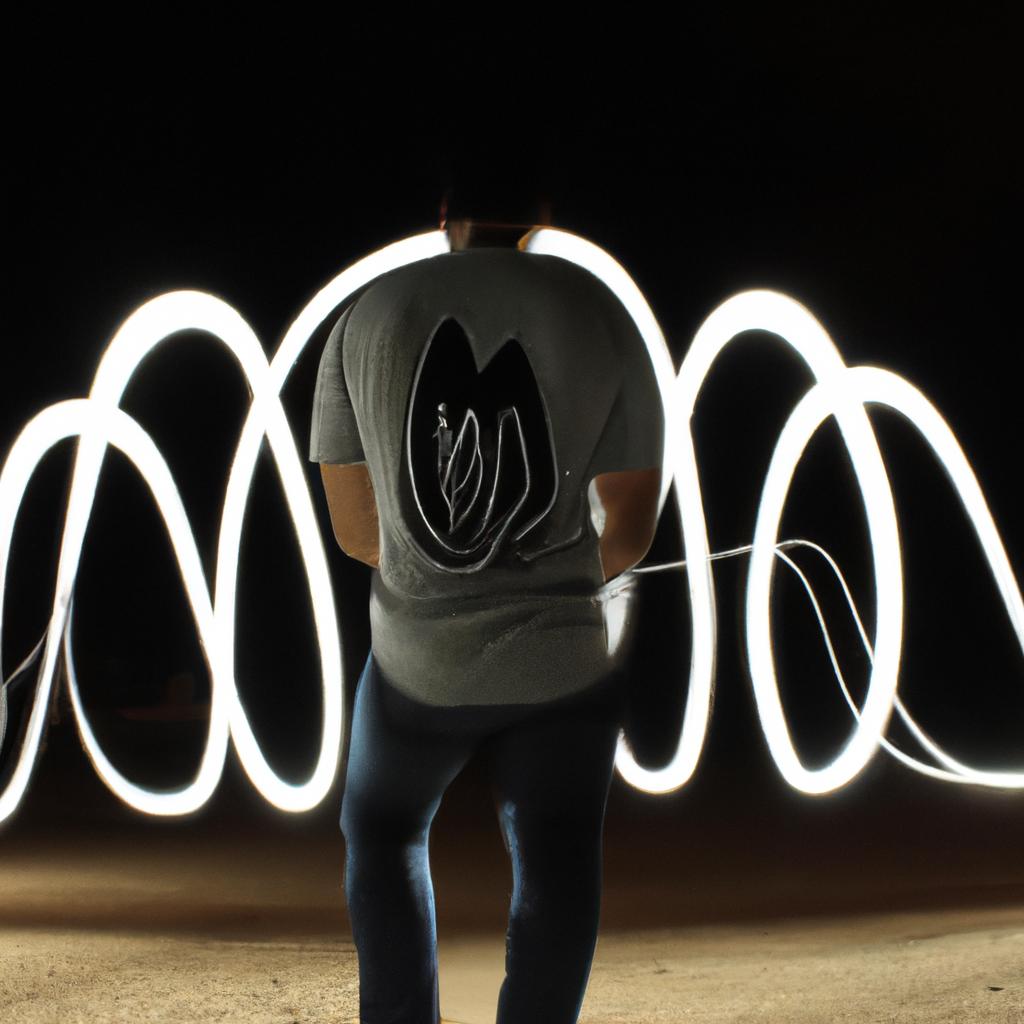
One example of a popular light source for light trails is the handheld flashlight. By moving the flashlight around while taking a long exposure, photographers can create intricate patterns and shapes that add an element of creativity to their photographs. For instance, imagine capturing a photograph where the light trail resembles a winding river flowing through a dark forest, guiding viewers on an enchanting visual journey.
To further expand your creative possibilities when it comes to light painting, consider incorporating the following techniques:
- Multiple colored flashlights: Experiment with using flashlights of different colors to introduce vibrant hues into your light trails.
- Steel wool sparks: Create mesmerizing spark patterns by spinning steel wool attached to a wire whisk or other similar device.
- LED strips or fairy lights: These flexible lighting options can be wrapped around objects or people to produce ethereal and dreamy light trails.
- Fireworks: Capture the colorful bursts of fireworks against a nighttime sky for dynamic and eye-catching compositions.
Table: Different Light Sources for Light Trails
| Light Source | Effect |
|---|---|
| Handheld Flashlight | Intricate patterns & shapes |
| Colored Flashlights | Vibrant hues |
| Steel Wool Sparks | Mesmerizing spark patterns |
| LED Strips/Fairy Lights | Ethereal & dreamy light trails |
By exploring different types of light sources, you can unleash your creativity and capture truly awe-inspiring imagery.
Post-Processing Tips for Enhancing Light Trails
Having understood the various light sources commonly used to create captivating light trails, we now delve into exploring different techniques for achieving mesmerizing light paintings. Let us consider a hypothetical scenario where a photographer wants to capture an enchanting image of a deserted road at night with vibrant streaks of light.
Light Streak Technique:
One popular technique is the “light streak” method, which involves moving your camera during a long exposure while illuminating the scene with handheld lights or LED strips. By carefully coordinating your movements and timing, you can create dynamic patterns and shapes in your photograph. For instance, our photographer may decide to move their camera vertically while simultaneously waving a colorful LED wand horizontally across the frame. This juxtaposition creates an intriguing visual effect that adds depth and interest to the final image.
When experimenting with light painting techniques like this, there are several factors to consider:
- Distance between subject and camera: The distance plays a crucial role in determining how sharp or blurred the light streaks appear. Closer distances tend to result in more defined lines, while increased distances yield elongated and softer streaks.
- Exposure time: Longer exposures allow for more intricate designs and greater control over lighting effects. However, it’s important to strike a balance as extended exposures can lead to overexposed areas.
- Light intensity: Adjusting the brightness of your light source affects both its visibility against ambient light and its impact on the overall composition. Experimentation with different intensities will help achieve desired results.
- Composition and framing: Consider incorporating foreground elements such as trees or buildings to add context and enhance visual appeal. Additionally, composing your shot using leading lines or diagonals can guide viewers’ eyes through the image.
To further illustrate these considerations, below is a table showcasing examples of different outcomes achieved by altering specific parameters:
| Distance (Subject-Camera) | Exposure Time | Light Intensity | Result |
|---|---|---|---|
| Close | Short | High | Sharp, bold streaks with defined edges |
| Moderate | Medium | Medium | Softened streaks blending into the surroundings |
| Far | Long | Low | Elongated and ethereal streaks merging gracefully |
By understanding these techniques and experimenting with different elements of light painting, photographers can unlock their creativity and produce captivating images. Remember to practice patience, as mastering this art form requires time, dedication, and a willingness to explore unconventional methods.
Comments are closed.