
In the vast expanse of the night sky, a universe filled with twinkling stars and distant galaxies awaits exploration. For those passionate about photography, capturing the beauty of this celestial realm through astrophotography can be an awe-inspiring endeavor. However, mastering the art of night photography requires more than just pointing a camera towards the heavens; it demands a deep understanding of camera settings specifically tailored for low light conditions. By employing appropriate techniques, photographers can unlock mesmerizing images that showcase the ethereal wonders hidden within our nocturnal atmosphere.
Consider the case of Emily, an aspiring photographer fascinated by astronomy. Armed with her trusty DSLR camera and tripod, she embarks on a journey to capture breathtaking shots of star trails in the night sky. As darkness envelops her surroundings, Emily faces numerous challenges: maintaining sharp focus in dimly lit environments, minimizing noise introduced by long exposures, and properly exposing her subjects against a backdrop dominated by shadows. To overcome these obstacles and transform her vision into reality, Emily must delve into the world of camera settings for night photography—where aperture, shutter speed, ISO sensitivity, white balance adjustments, and other key parameters play pivotal roles in crafting captivating astrophotographic compositions. Through meticulous experimentation and practice, Emily discovers that by using a wide aperture, such as f/2.8 or wider, she can gather as much light as possible and create a shallow depth of field, allowing the stars to appear sharp and well-defined in her images. Additionally, she realizes that setting her camera to manual focus mode and using the infinity focus mark on her lens helps ensure precise focusing on distant celestial objects.
To minimize noise in her long exposures, Emily experiments with different ISO settings. She finds that keeping the ISO relatively low, typically between 400-1600 depending on the camera’s capabilities, produces cleaner images with less digital noise.
In terms of exposure settings, Emily understands that longer shutter speeds are necessary to capture star trails. By utilizing Bulb mode or selecting longer shutter speeds ranging from 15 seconds to several minutes, she is able to create stunning streaks of light across the night sky.
To maintain accurate colors and tones in her astrophotography, Emily pays attention to white balance adjustments. While auto white balance may work in some situations, she discovers that setting a custom white balance or manually selecting a Kelvin temperature around 3000-4000K often yields more pleasing results with warmer tones.
Throughout her journey into night photography, Emily also learns about additional techniques such as using a remote shutter release or self-timer function to eliminate any potential camera shake caused by pressing the shutter button directly.
By combining these camera settings and techniques with patience and perseverance, Emily successfully captures mesmerizing star trail photographs that showcase the beauty and grandeur of our universe. Her dedication to mastering the art of astrophotography allows her to share awe-inspiring images that inspire others to appreciate the wonders hidden within the night sky.
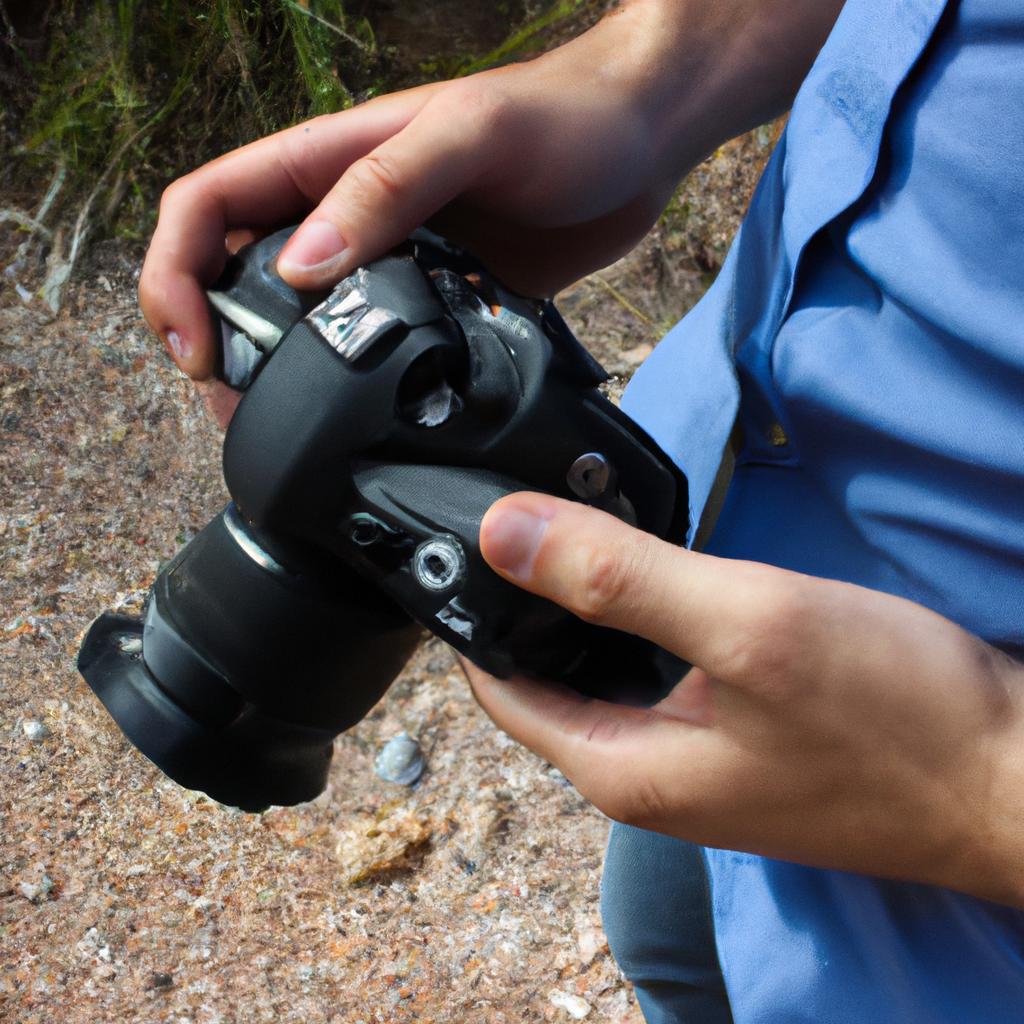
Choosing the right camera
Choosing the right camera is crucial when it comes to capturing stunning photographs of the night sky. The quality and capabilities of your camera will greatly affect the outcome of your astrophotography endeavors. Let’s consider a hypothetical scenario to illustrate this point: Imagine you are an amateur photographer who has recently developed an interest in capturing breathtaking images of stars, galaxies, and nebulae. You decide to invest in a new camera specifically designed for low-light conditions.
When selecting a camera for astrophotography, there are several factors to take into account. First and foremost, consider the sensor size. A larger sensor allows more light to be captured, resulting in better image quality with reduced noise levels. Full-frame cameras typically perform exceptionally well in low-light situations due to their larger sensors. However, crop-sensor cameras can also produce impressive results when paired with suitable lenses.
Another important consideration is the ISO performance of the camera. High ISO settings enable you to capture images even in extremely dark environments by amplifying the available light. Look for a camera that offers good high ISO capabilities without excessive noise or loss of detail.
Additionally, pay attention to the lens compatibility and availability of wide-angle options. Wide-angle lenses allow you to capture vast portions of the night sky, including constellations and celestial phenomena such as meteor showers or auroras.
To help guide your decision-making process further, let’s explore some emotional benefits associated with choosing the right camera:
- Improved Image Quality: By investing in a capable camera system, you’ll have access to higher resolution images with enhanced clarity and detail.
- Enhanced Creativity: With advanced features like long exposure capabilities and customizable shooting modes, you’ll be able to experiment with different techniques and unleash your creative potential.
- Increased Confidence: Knowing that you have reliable equipment at hand gives you confidence while navigating through challenging nighttime photography scenarios.
- Unforgettable Experiences: Armed with a powerful camera, you’ll be able to capture breathtaking moments under the stars and create lasting memories.
In conclusion, selecting the right camera is a crucial step in mastering astrophotography techniques. Consider factors such as sensor size, ISO performance, lens compatibility, and wide-angle options when making your decision. By choosing wisely, you can unlock the full potential of capturing stunning images of the night sky.
Using manual mode
In the previous section, we discussed the importance of choosing the right camera for night photography. Now, let’s delve into another crucial aspect of capturing stunning astrophotography: understanding ISO sensitivity.
To illustrate the significance of ISO sensitivity in night photography, let’s consider a hypothetical scenario. Imagine you are photographing a breathtaking starry sky on a clear night. You want to capture as many stars as possible while keeping noise at bay. This is where ISO sensitivity comes into play.
Here are some key points to understand about ISO sensitivity:
- ISO and Noise: When shooting in low-light conditions, increasing your camera’s ISO setting allows you to capture more light. However, higher ISO values can introduce unwanted digital noise into your images.
- Trade-off between Light and Noise: Finding the optimal balance between gathering enough light and minimizing noise is essential when setting your ISO value.
- Adjusting ISO Settings: Experiment with different ISO settings to find what works best for your specific equipment and lighting conditions.
-
Low (e.g., 100 - 400): Suitable for scenes with ample ambient light or long exposures using a tripod. -
Medium (e.g., 800 - 1600): Ideal for capturing moderate levels of darkness without excessive noise. -
High (e.g., 3200 - 6400): Use when shooting in very dimly lit environments or if you need faster shutter speeds but expect increased noise. -
Extreme (above 6400): Reserved for extreme low-light situations; however, be prepared for significant image degradation due to high noise levels.
To further grasp the relationship between ISO sensitivity and its impact on image quality, refer to the following table:
| Lighting Conditions | Optimal ISO Range | Expected Noise Level |
|---|---|---|
| Well-lit urban area | Low to Medium | Minimal |
| Dimly lit landscape | Medium | Moderate |
| Starry night sky | High | Some noise |
| Remote astrophotography | Extreme | Significant noise |
Understanding ISO sensitivity is crucial for achieving exceptional results in night photography. By finding the right balance between light and noise, you can capture stunning images of celestial wonders.
Now that we have grasped the importance of ISO sensitivity, let’s move on to exploring another fundamental aspect: setting the aperture.
Setting the aperture
Imagine you are standing in a remote location on a clear night, eager to capture breathtaking images of the starry sky. To achieve stunning astrophotography results, mastering the art of adjusting the shutter speed is crucial. The right shutter speed can help you capture sharp and well-exposed photos without trailing stars or excessive noise.
To begin, let’s consider an example case study. Suppose you are photographing the Milky Way on a moonless night. You want to capture as much detail as possible while avoiding overexposure. In this scenario, setting your camera’s shutter speed too slow may result in blurred stars due to Earth’s rotation, while choosing a fast shutter speed might lead to underexposed images with limited details.
Here are some key factors to keep in mind when adjusting the shutter speed for night photography:
- Lighting conditions: Take into account how bright or dark your surroundings are and adjust accordingly. A longer exposure time may be needed for darker environments.
- Desired effect: Determine whether you aim to capture pinpoint stars (shorter exposures) or create star trails (longer exposures). This will influence your choice of shutter speed.
- Lens focal length: Consider the focal length of your lens; shorter focal lengths require less time before visible star trails appear compared to longer focal lengths.
- Camera stability: Longer exposure times increase the risk of camera shake leading to blurry images. Using a sturdy tripod and remote release can minimize this issue.
| Key Factors | Shutter Speed Selection |
|---|---|
| Low light | Longer exposure |
| Pinpoint stars | Shorter exposure |
| Wide-angle lens | Shorter exposure |
| Stable setup | Longer exposure |
By understanding these considerations and making informed adjustments to your camera’s shutter speed settings, you can enhance your chances of capturing mesmerizing celestial scenes with precision and clarity.
Adjusting the shutter speed
Building on our understanding of setting the aperture, let’s now explore another crucial aspect of night photography: adjusting the shutter speed. By effectively managing this camera setting, you can capture breathtaking images of celestial bodies and create stunning astrophotography compositions.
Shutter speed refers to the length of time your camera’s sensor is exposed to light when taking a photograph. When it comes to capturing stars, galaxies, or other astronomical objects, using long exposures is essential. This allows more light to reach the camera sensor, resulting in clearer and more detailed images. For example, imagine trying to photograph a meteor shower with a fast shutter speed like 1/200th of a second. The individual meteors would likely be missed entirely due to their fleeting nature. However, by extending the exposure time to several seconds or even minutes, you can capture multiple meteors streaking across the sky, creating a captivating composition.
To help you make the most out of your night photography sessions, here are some key considerations for adjusting the shutter speed:
- Experimentation: Start with longer exposures (e.g., 15-30 seconds) and gradually increase or decrease based on results.
- Motion blur: Longer exposures may introduce motion blur if there are moving elements in your frame such as trees or clouds. Incorporate these movements intentionally into your composition for creative effects.
- Star trails: If you wish to showcase star trails—long arcs created by Earth’s rotation during extended exposures—consider using extremely long shutter speeds ranging from minutes to hours.
- Noise reduction: Prolonged exposures can generate digital noise in your images due to heat buildup within the camera sensor. Enable noise reduction features in-camera or use post-processing techniques to minimize its impact.
| Shutter Speed | Effect | Recommended Use |
|---|---|---|
| Long (several sec) | Capture star trails | Astrophotography compositions |
| Moderate (1-10 sec) | Reveal motion blur | Creative effects and capturing moving elements |
| Short (fractions of a second) | Freeze fast-moving subjects | Photographing meteors or satellites |
By mastering the art of adjusting shutter speed, you’ll be able to unlock the full potential of your night photography endeavors. In our next section, we will delve into understanding ISO settings, another crucial aspect in achieving stunning astrophotography results.
Now that you have learned about adjusting shutter speed, let’s explore how ISO settings play a vital role in night photography techniques.
Understanding ISO settings
Having covered the importance of adjusting the shutter speed in night photography, we now turn our attention to another crucial aspect – understanding ISO settings. By comprehending and effectively utilizing ISO settings, photographers can capture stunning astro-photographs that showcase the captivating beauty of celestial objects.
Understanding ISO settings is essential as it determines the sensitivity of your camera’s image sensor to light. Higher ISO values increase sensitivity, enabling you to capture brighter images in low-light conditions. However, a higher ISO also leads to increased digital noise in photographs. To strike a balance between capturing well-lit subjects and minimizing noise, consider these key factors:
- Lighting Conditions: Assess the available light sources and their intensity before selecting an appropriate ISO setting.
- Desired Image Quality: Determine how much digital noise you are willing to tolerate while maintaining overall sharpness and clarity.
- Subject Movement: Consider whether your subject is stationary or in motion—a higher ISO may be necessary to freeze fast-moving stars or capture details in a moving aurora borealis.
- Equipment Capabilities: Understand your camera’s maximum usable ISO range without compromising image quality, as this varies among different models.
To better grasp the impact of varying ISO settings on astrophotography results, let us examine a comparison table showcasing sample images taken at different values:
| Low (ISO 100) | Medium (ISO 800) | High (ISO 3200) | |
|---|---|---|---|
| Brightness | Moderate | Bright | Very bright |
| Noise Level | Minimal | Slightly noticeable | Noticeable |
| Details Retained | Excellent | Good | Some loss |
| Suitable for | Long exposures | Moderate exposure | Short exposures |
As seen in the table, higher ISO settings result in brighter images but also introduce more noticeable noise and potential loss of details. Depending on your desired outcome, you may need to find a balance that suits your specific astrophotography goals.
Transition into subsequent section:
Now armed with an understanding of ISO settings, we can explore the technique of utilizing long exposure to capture breathtaking night sky scenes. By employing longer exposure times, photographers can unveil the mesmerizing beauty hidden within the cosmos without compromising image quality or introducing excessive noise.
Utilizing long exposure techniques
Understanding ISO settings is crucial for achieving optimal results in night photography. Now, let’s delve into the next important aspect of capturing stunning astrophotography: utilizing long exposure techniques.
Long exposure refers to a photographic technique where the camera’s shutter remains open for an extended period, allowing more light to enter the sensor. This technique is particularly useful in low-light situations such as astrophotography. By using long exposures, photographers can capture breathtaking images of star trails, celestial objects, and even the elusive Milky Way.
To effectively utilize long exposure techniques for your night photography endeavors, consider the following:
-
Sturdy Tripod: Investing in a sturdy tripod is essential to ensure stability during long exposures. Any slight movement or vibration can result in blurry images, so opt for tripods made from robust materials that are capable of withstanding outdoor conditions.
-
Remote Shutter Release: A remote shutter release allows you to trigger your camera without physically pressing the button on the camera body. This minimizes any potential vibrations caused by touching the camera directly and ensures sharper images during long exposures.
-
Timing and Duration: Experimenting with different exposure times is key when it comes to capturing stunning astrophotography shots. Start with longer durations (e.g., 20-30 seconds) and adjust accordingly based on lighting conditions and desired effects.
-
Light Pollution Filters: In areas with excessive artificial lighting or light pollution, using filters specifically designed to reduce its impact can significantly enhance your night photographs. These filters help preserve contrast and colors while minimizing unwanted glare caused by urban lights.
By incorporating these techniques into your night photography workflow, you’ll be able to capture mesmerizing images of our vast universe under the cover of darkness.
| Tips for Utilizing Long Exposure Techniques |
|---|
| Use a sturdy tripod |
| Consider light pollution filters |
Remember, the key to mastering astrophotography lies in continuous practice and experimentation. With each shot, you’ll gain valuable insights into how different camera settings can impact your final result. So grab your gear, head outside on a clear night, and let the wonders of the cosmos unfold before your lens.
Comments are closed.