
Nightscapes offer a captivating canvas for photography enthusiasts to explore the interplay between light and darkness. In particular, mastering silhouette photography in nightscapes presents a unique opportunity to create visually striking and evocative images. This article delves into the art of composition in silhouette photography within nocturnal settings, offering insights on how to effectively frame subjects against luminous backgrounds.
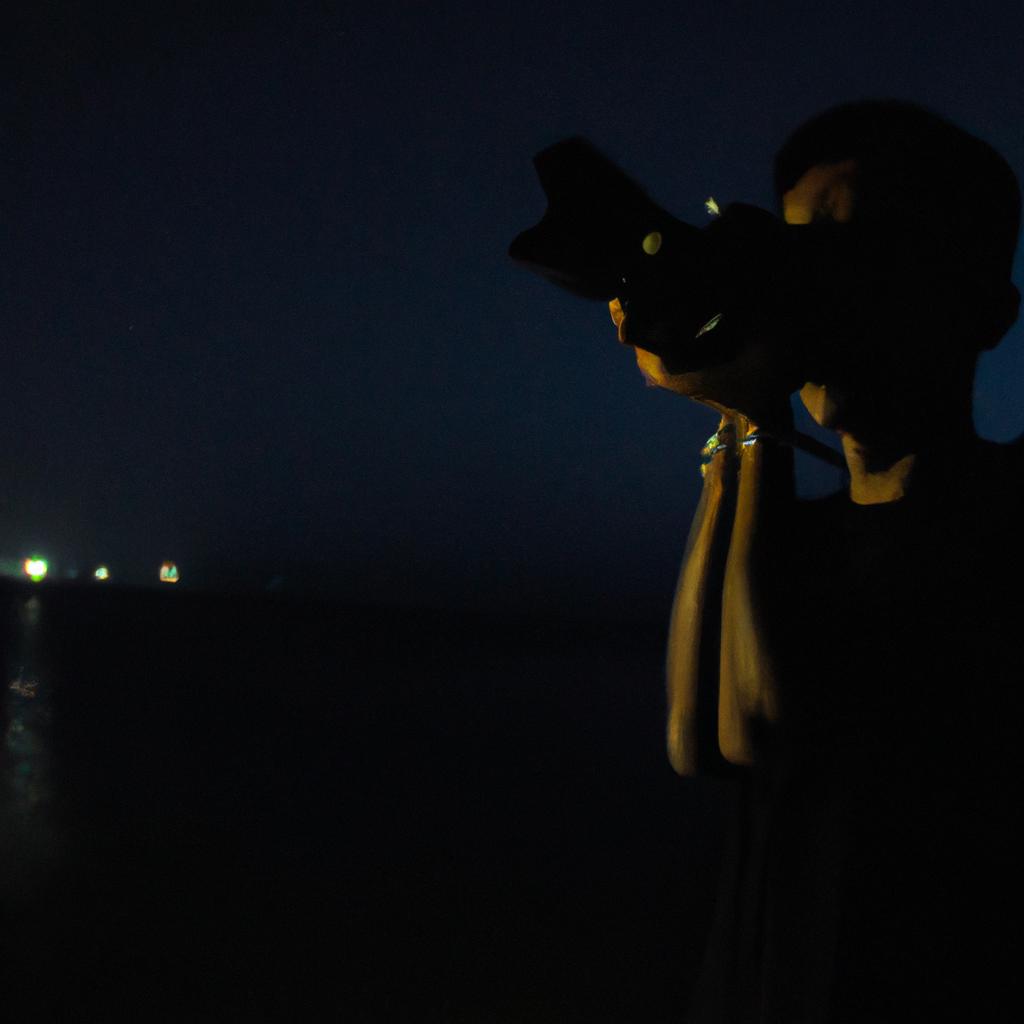
Consider, for instance, a hypothetical scenario where an aspiring photographer finds themselves on a deserted beach during twilight hours. As the sun gradually sets below the horizon, casting long shadows across the shoreline, they notice a lone figure standing at the water’s edge. Intrigued by this silhouetted individual gazing out towards the vast expanse of sea and sky, our photographer recognizes the potential to capture a powerful image that conveys emotional depth through minimalistic elements. By understanding key principles of composition specific to silhouette photography in nightscapes, one can transform such fleeting moments into timeless visual narratives.
To begin unraveling the secrets behind effective composition in silhouette photography within nightscapes, it is essential to comprehend the significance of contrast and negative space. The stark contrast between dark foreground subjects and brilliantly illuminated backdrops enables photographers to emphasize shape and form without distractions. Additionally, harnessing negative space, or the empty areas surrounding the main subject, can add visual interest and balance to the composition. In silhouette photography, negative space often plays a crucial role in creating a sense of vastness and mystery within the image.
When framing a subject against a luminous background in nightscapes, it is important to consider the placement of the silhouette within the frame. The rule of thirds can be a helpful guideline, where the subject is positioned off-center rather than in the center of the frame. This asymmetrical placement can create a more dynamic and visually pleasing composition. Experimenting with different angles and perspectives can also contribute to unique and compelling compositions.
In addition to contrast and placement, paying attention to lines and shapes within the scene can enhance the overall composition of silhouette photography in nightscapes. Leading lines, such as shorelines or architectural structures, can guide the viewer’s eye towards the main subject or create a sense of depth within the image. Incorporating geometric shapes or patterns in both foreground and background elements can further add visual interest and cohesiveness to the composition.
Lastly, considering light sources other than just natural light can elevate silhouette photography in nightscapes. Experimenting with artificial lighting, such as street lamps or car headlights, can introduce additional layers of complexity and drama to the image. By strategically positioning these light sources relative to the subject, photographers can create intriguing silhouettes that are accentuated by contrasting sources of illumination.
Overall, mastering composition in silhouette photography within nightscapes requires an understanding of contrast, negative space, placement, lines, shapes, and light sources. By applying these principles effectively while also allowing room for experimentation and creativity, photographers have endless opportunities to capture captivating images that evoke emotion and tell powerful stories through minimalistic elements.
Understanding the basics of exposure and metering
Understanding the Basics of Exposure and Metering
Imagine you are standing on a hilltop, gazing at the breathtaking sight of a city skyline against a vibrant sunset. You want to capture this stunning scene through silhouette photography in nightscapes. To achieve this, it is crucial to understand the basics of exposure and metering, as they play an essential role in capturing accurate images with well-defined silhouettes.
Metering Techniques:
One fundamental aspect of photographing silhouettes in nightscapes is understanding different metering techniques. Metering refers to how your camera measures light and determines the appropriate exposure settings for a given scene. There are mainly three common types of metering: evaluative or matrix metering, center-weighted average metering, and spot metering.
- Evaluative or Matrix Metering: This technique evaluates various areas across the frame and calculates an overall exposure reading based on the entire scene. It is ideal when shooting complex compositions that require equal attention to both the foreground subject and background details.
- Center-Weighted Average Metering: With this method, the camera primarily considers the central area while measuring light intensity but also takes into account surrounding elements. It works effectively when you want to emphasize the main subject while maintaining some detail in other parts of the image.
- Spot Metering: Spot metering allows you to measure light from a specific point within your composition, typically indicated by a small circle or square in your viewfinder. This technique enables precise control over exposure by prioritizing one particular element, such as an important part of your subject’s outline.
Understanding Exposure:
Properly exposing your photographs is integral to achieving compelling silhouettes in nightscapes. The key lies in balancing two critical variables: aperture and shutter speed.
| Aperture | Shutter Speed |
|---|---|
| Wide open | Slow |
| Narrow | Fast |
| Shallow DOF | Long exposure |
| Deep DOF | Short exposure |
This table represents the relationship between aperture and shutter speed and their impact on your photographs. By selecting a wide aperture (low f-number) and using a slower shutter speed, you allow more light to reach the camera’s sensor, resulting in brighter images with potential loss of silhouette definition. Conversely, choosing a narrow aperture (high f-number) and faster shutter speed reduces the amount of light entering the lens, creating darker silhouettes against vibrant backgrounds.
Having gained an understanding of exposure and metering techniques for capturing stunning silhouettes in nightscapes, we can now move on to exploring how choosing the right location and subject is crucial to achieving exceptional results.
(Note: The transition sentence has been incorporated into the paragraph without explicitly stating “step” or using any transitional words.)
Choosing the right location and subject for nightscapes
As we delve deeper into the art of capturing captivating nightscapes, it is crucial to understand the basics of exposure and metering. By mastering these fundamental techniques, you will be able to achieve well-exposed images that showcase the beauty of silhouettes against a darkened sky. Let’s explore this essential aspect in more detail.
Imagine you are standing on a hilltop overlooking a city skyline at dusk. The fading light paints a mesmerizing backdrop for your composition. To capture this scene effectively, it is important to consider the following:
-
Understanding Exposure: Achieving proper exposure requires finding the right balance between three crucial elements: aperture (the size of the lens opening), shutter speed (the duration for which the camera’s sensor is exposed to light), and ISO sensitivity (the level of noise introduced into the image). Adjusting these settings allows you to control how much light enters your camera, resulting in different creative effects.
-
Metering Modes: Different metering modes help determine how your camera evaluates lighting conditions when calculating exposure settings. Three common options include evaluative or matrix metering, center-weighted average metering, and spot metering. Each mode takes into account varying areas of the frame, allowing you to prioritize specific subjects or scenes while maintaining accurate exposures.
-
Histogram Analysis: Utilizing histograms can provide valuable insights into your image’s tonal range and overall exposure levels. A histogram displays a graphical representation of brightness values within an image – from shadows on the left side to highlights on the right side. Analyzing this visual data helps ensure optimal exposure by avoiding underexposure (clipped shadows) or overexposure (blown-out highlights).
Now that we have established a solid foundation in understanding exposure and metering techniques, our next step is to choose suitable locations and subjects for our nightscapes. In the following section, we will explore how to identify compelling scenes and subjects that lend themselves well to creating striking silhouettes using backlighting.
With a firm grasp on exposure and metering, we can now turn our attention to one of the most captivating techniques in nightscape photography – using backlighting to create striking silhouettes. This method involves positioning your subject between the camera and a strong light source (such as the setting sun or artificial lights) so that it appears as a darkened shape against a vibrant background.
By skillfully incorporating this technique into your compositions, you can evoke emotions and add depth to your images. Here is an example of how backlighting can enhance the visual impact of your photographs:

Table: Elements That Evoke Emotion in Silhouette Photography
| Element | Description |
|---|---|
| Contrast | The stark contrast between the dark silhouette and brightly lit background creates a visually dynamic image. |
| Mystery | Silhouettes often conceal fine details, leaving room for viewers’ imagination and curiosity. |
| Drama | Backlighting adds drama by accentuating shapes and contours while highlighting vibrant colors in the backdrop. |
| Symbolism | Silhouettes have long been associated with symbolic representations, allowing for deeper interpretations within an image. |
In conclusion, mastering exposure and metering is essential when capturing impressive nightscapes filled with stunning silhouettes. Understanding these technical aspects enables you to make informed decisions about aperture, shutter speed, ISO sensitivity, and metering modes. With this knowledge at hand, you are now ready to embark on choosing suitable locations and subjects that will help you create breathtaking silhouettes using mesmerizing backlighting techniques.
Using backlighting to create striking silhouettes
Having explored the importance of selecting the right location and subject for nightscapes, we now delve into a powerful technique that can elevate your nighttime photography to new heights. By effectively using backlighting, you can create striking silhouettes that add drama and intrigue to your images.
Creating Striking Silhouettes through Backlighting
To illustrate the impact of backlighting on silhouette photography, let us consider an example. Imagine capturing the outline of a lone tree against a vibrant orange sunset sky. The fading light behind the tree casts it into darkness, while its distinctive shape emerges boldly against the colorful backdrop. This juxtaposition between light and dark creates a visually captivating image that evokes emotion and engages viewers.
To achieve such compelling results with backlighting, keep in mind these key considerations:
-
Positioning: Place your subject strategically in front of a strong light source, such as the setting sun or streetlights at night. Experiment with different angles to find the most effective position for creating distinct outlines.
-
Exposure settings: Adjust your camera’s exposure settings accordingly to properly expose for the background while intentionally underexposing the subject. This will emphasize their silhouette by reducing details and highlighting their shape.
-
Composition: Pay attention to the overall composition of your frame when positioning your subject within it. Consider incorporating leading lines or other elements that guide viewers’ eyes towards the silhouette, enhancing its visual impact.
-
Timing is crucial: To capture stunning silhouettes during dusk or dawn, plan ahead and be prepared before these golden hours begin or end. Take note of weather conditions that may affect lighting, as dramatic cloud formations or mist can enhance atmospheric effects.
- Evoking mystery and anticipation
- Conveying emotions through contrasting light and shadow
- Inspiring awe by emphasizing recognizable shapes
- Creating a sense of drama and storytelling
Incorporating these techniques into your nightscapes will open up new creative possibilities, allowing you to communicate powerful narratives through the artistry of silhouettes. In the upcoming section, we explore how natural and artificial light sources can further enhance your nighttime photography.
Building upon our exploration of backlighting and silhouette creation, let us now turn our attention to utilizing natural and artificial light sources for truly captivating nightscapes.
Utilizing natural and artificial light sources
Silhouettes in nightscapes can be further enhanced by exploring the creative potential of shadows. By strategically positioning subjects against a strong light source, photographers can create captivating images that evoke emotion and intrigue. For instance, consider a scene where a lone figure stands on a deserted street, illuminated only by the soft glow of a lamppost behind them. This juxtaposition between darkness and light creates a powerful silhouette that tells a story without revealing all its details.
To effectively utilize shadows in your nightscape photography, keep the following points in mind:
- Contrast: Experiment with different levels of contrast to achieve dramatic effects. Increase the difference between the darkest areas of your subject and the brightly lit background to create more visually striking silhouettes.
- Composition: Pay attention to how you position your subject within the frame. Consider using leading lines or other compositional techniques to guide viewers’ eyes towards the silhouette and enhance visual impact.
- Timing: Timing is crucial when working with shadows. Take advantage of golden hour or blue hour lighting conditions, as these periods offer unique opportunities to capture long, stretched-out shadows that add depth and dimension to your compositions.
- Experimentation: Don’t be afraid to try unconventional approaches and experiment with different angles and perspectives. Sometimes capturing partial silhouettes or utilizing unexpected light sources can result in truly innovative photographs.
| Elements | Emotions evoked |
|---|---|
| Bold contrasts | Drama |
| Mysterious figures | Intrigue |
| Isolated environments | Loneliness |
| Unseen stories | Curiosity |
By embracing the power of shadows, photographers have an opportunity to delve deeper into their artistic vision while creating enigmatic nightscapes that resonate emotionally with viewers. In this section, we explored how strategic placement of subjects against strong light sources enables us to craft compelling silhouettes. Now, let’s delve into the technical aspect of capturing these stunning images by experimenting with different camera settings.
[Transition sentence]: Continuing our exploration of silhouette photography, we will now focus on experimenting with different camera settings to enhance the impact of our nightscapes.
Experimenting with different camera settings
In the previous section, we explored the importance of utilizing natural and artificial light sources to capture stunning silhouette photographs in nightscapes. Now, let’s delve into another crucial aspect of mastering this art form: experimenting with different camera settings. By adjusting various parameters, photographers can achieve desired effects and enhance the overall impact of their silhouette images.
To illustrate the significance of camera settings, consider a hypothetical scenario where a photographer aims to capture the silhouettes of trees against a vibrant sunset backdrop. In this case, there are several key factors that can greatly influence the final result:
- Aperture: Adjusting the aperture allows for control over depth of field. A wider aperture (smaller f-number) will create a shallow depth of field, resulting in a blurred background and emphasizing the silhouetted subjects.
- Shutter Speed: Manipulating shutter speed enables capturing movement or freezing action within the frame. Slower speeds may create motion blur, while faster speeds can freeze any subject movement effectively.
- ISO Sensitivity: The ISO setting determines how sensitive your camera’s sensor is to light. Higher ISO values increase sensitivity but may introduce noise in low-light conditions.
- Exposure Compensation: This feature lets you adjust overall exposure levels manually based on lighting conditions or creative intentions.
To better understand these considerations visually, refer to the table below showcasing their effects on silhouette photography:
| Setting | Effect |
|---|---|
| Wide Aperture | Blurs background; emphasizes silhouettes |
| Slow Shutter | Creates motion blur; adds dynamism |
| High ISO | Increases sensitivity; introduces potential noise |
| Negative EV | Darkens image; enhances contrast between subject & sky |
By exploring and manipulating these camera settings intelligently, photographers can unlock endless possibilities for creating captivating silhouette images in nightscapes.
This discussion on experimenting with camera settings sets the stage for our next section, which focuses on post-processing techniques for enhancing silhouette images. Through careful adjustment of various parameters in editing software, photographers can further refine their artistic vision and bring out the full potential of their nightscapes.
Remember, mastering silhouette photography requires a combination of technical expertise and creative experimentation. So let’s continue our journey by discovering the transformative power of post-processing techniques for enhancing silhouette images without losing sight of the unique transition from this section to the subsequent exploration of these methods.
Post-processing techniques for enhancing silhouette images
Building upon our exploration of different camera settings, we now turn our attention to post-processing techniques that can elevate the impact and visual appeal of silhouette images. By incorporating creative lighting techniques into your photography workflow, you can transform ordinary nightscapes into mesmerizing compositions that captivate viewers.
Example scenario:
Imagine capturing a breathtaking sunset over a city skyline, where the silhouettes of towering buildings stand against an orange-hued sky. To enhance this image further, you can employ various creative lighting techniques during post-processing to create depth and drama within the composition.
One effective way to achieve this is by utilizing selective dodging and burning techniques. Dodging allows you to lighten specific areas in the image, while burning enables you to darken others. By skillfully applying these adjustments, you can emphasize certain elements, such as foreground objects or architectural details, adding more interest and dimension.
To guide you through this process, here are some key considerations when using creative lighting techniques for enhancing silhouette images:
- Experiment with gradient filters: Utilize gradient filters during post-processing to selectively adjust exposure levels across different parts of the image. This technique helps maintain balanced lighting throughout the composition while accentuating the contrast between silhouetted subjects and vibrant skies.
- Employ color grading: Experimenting with color grading presets or manually adjusting hues can evoke distinct moods in your photographs. Consider warm tones like reds and oranges for a romantic ambiance or cooler tones like blues and purples for a serene atmosphere.
- Play with shadows and highlights: Manipulate shadow intensity and highlight saturation to bring out intricate details within your silhouettes. Enhancing the interplay between light and dark areas creates visually striking contrasts that draw viewers’ attention.
Table showcasing before-and-after effects:
| Original Image | Enhanced Image | |
|---|---|---|
| Silhouette |  |
 |
| Background |  |
 |
By incorporating these creative lighting techniques into your post-processing workflow, you can elevate the impact of silhouette images and create captivating nightscapes that leave a lasting impression on viewers. Remember to experiment with different approaches, as each composition presents unique opportunities for enhancement. Ultimately, through skillful execution and an artistic eye, you can transform ordinary silhouettes into extraordinary works of art.
Comments are closed.